- Published on
Customizing Your Terminal Experience
- Authors
- Name
- Curtis Warcup

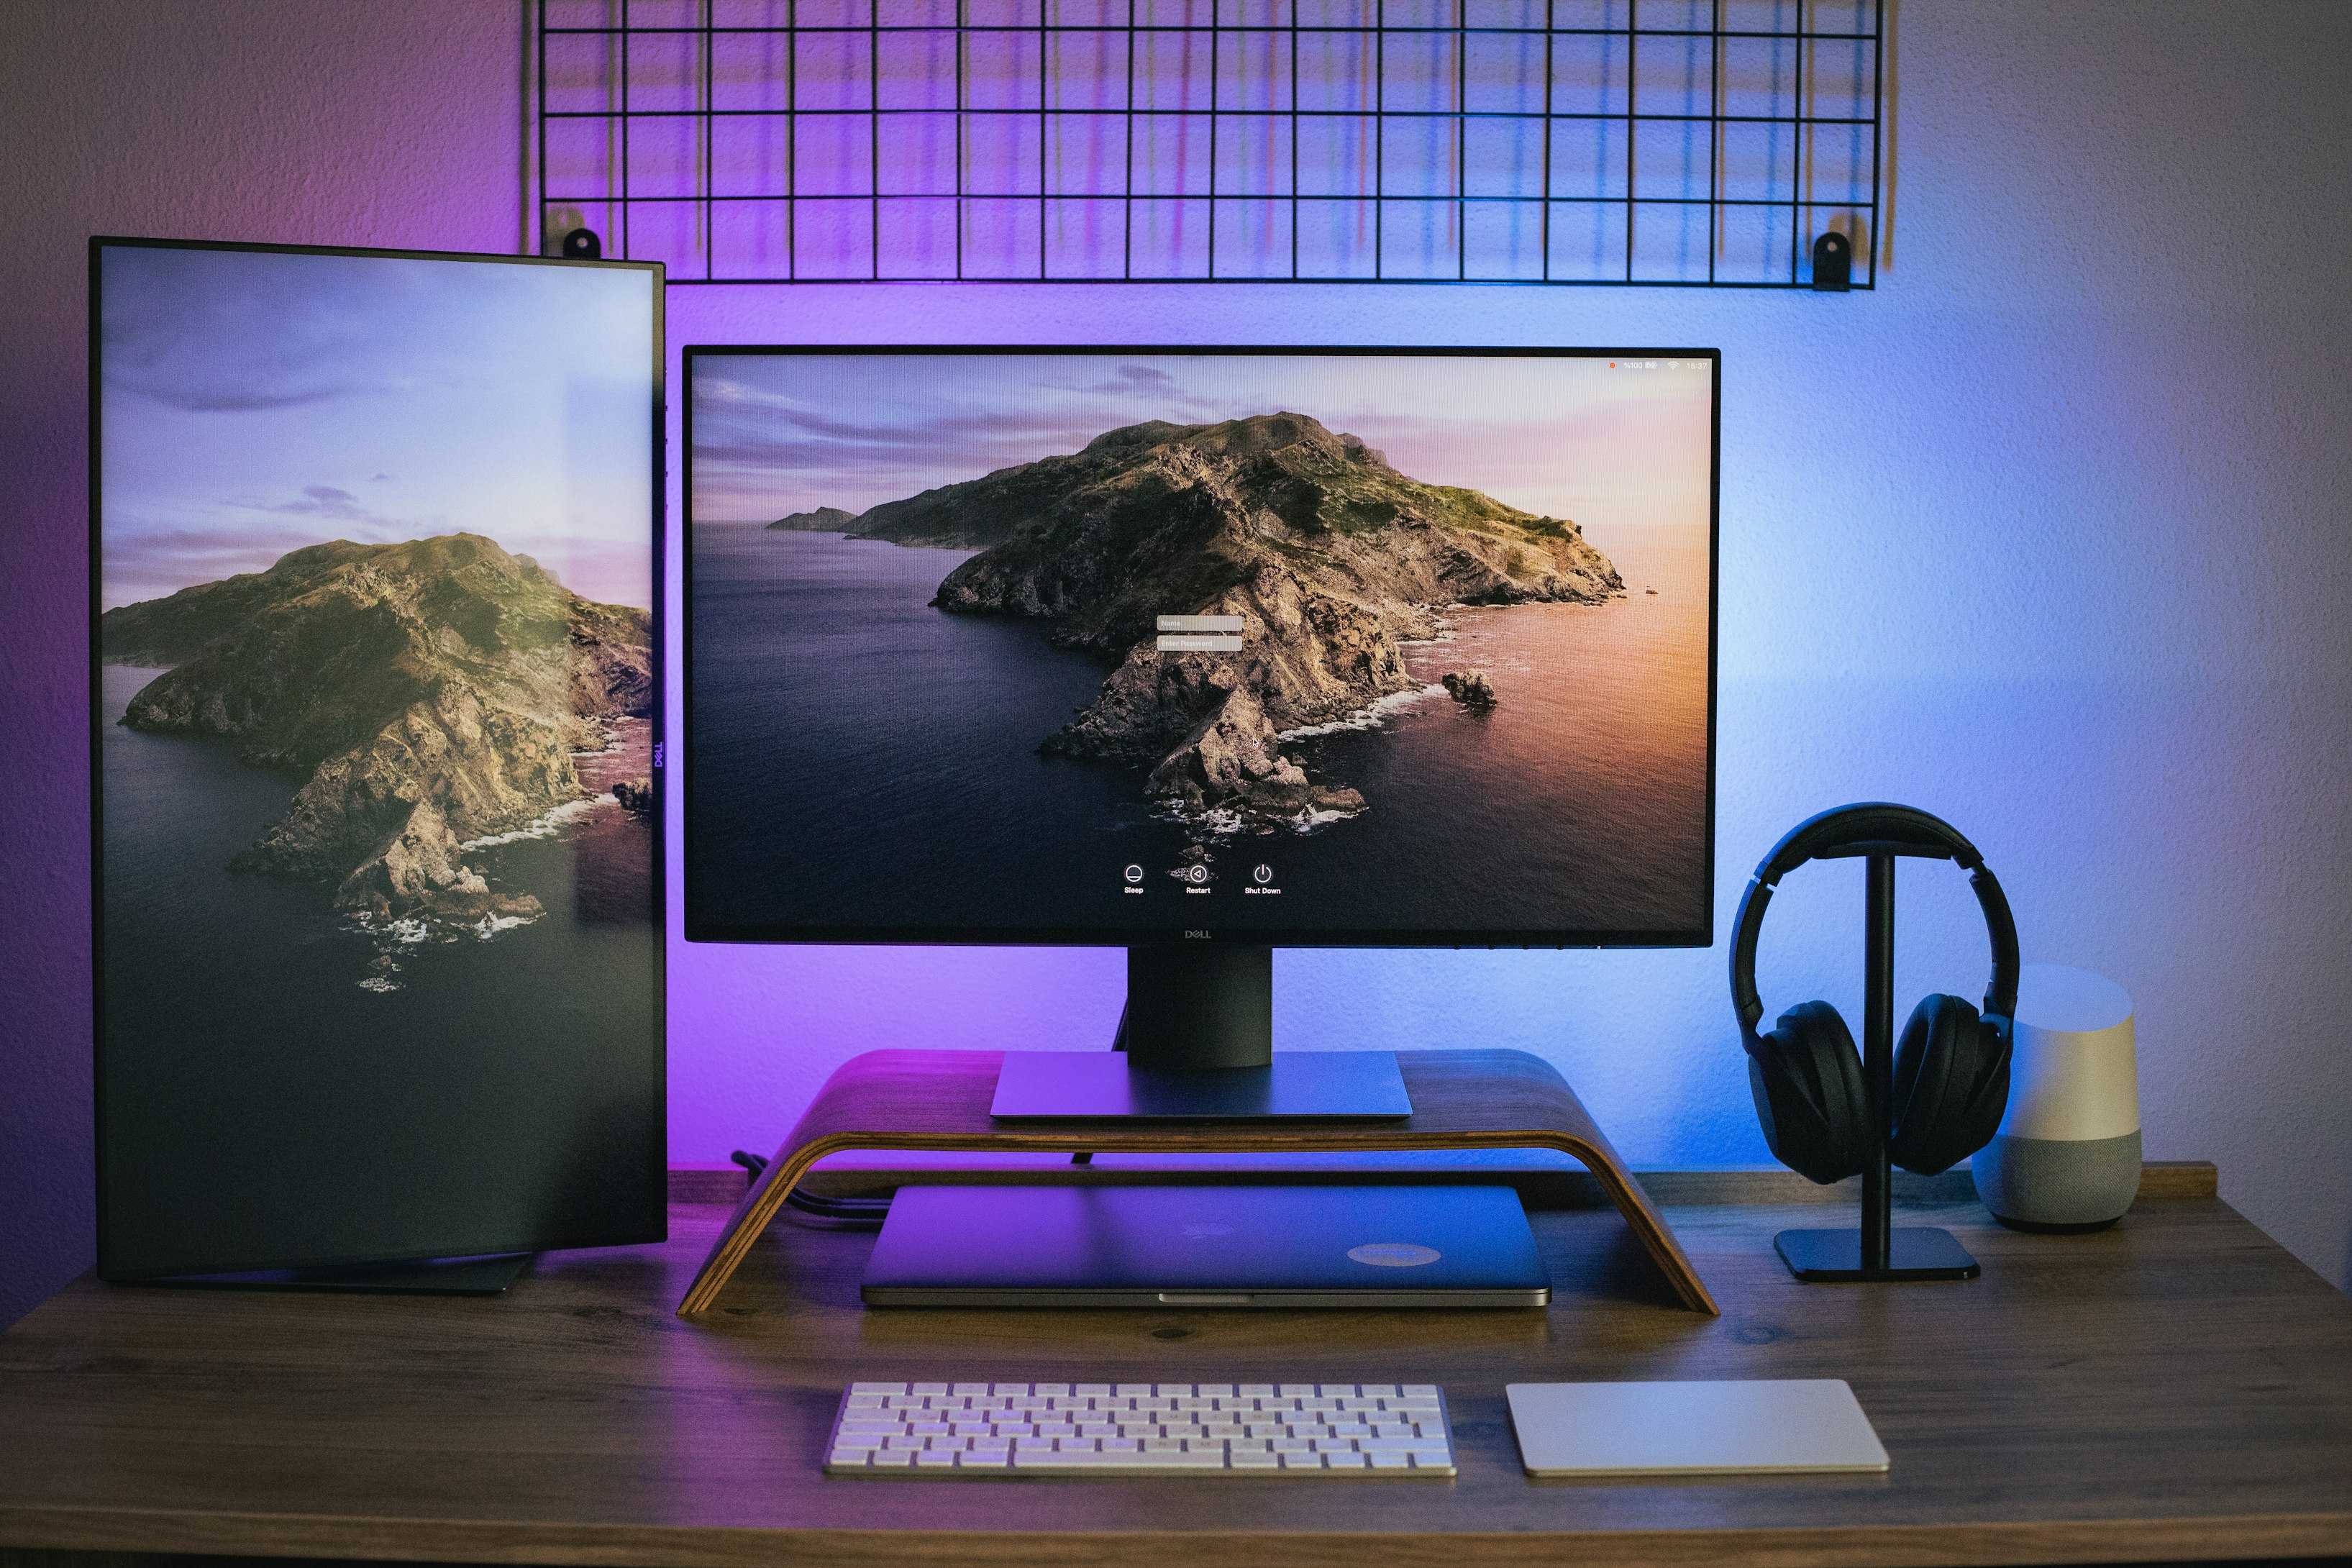
Photo by Cafer Mert Ceyhan
What an exciting day, you got a new Macbook Pro and you are ready to start your new job as a web developer. You are ready to start coding, but you are not sure how to set up your terminal. You have heard about all these cool plugins and themes, but you don't know where to start. Well, you are in the right place. In this article, I will show you how to set up your terminal for web development.
Table of Contents
Homebrew
Think of Homebrew as a package manager for macOS. It is a command line tool that allows you to install software on your Mac. It is very easy to use and it is a must-have for any developer. You can install it by running the following command in your terminal:
/bin/bash -c "$(curl -fsSL https://raw.githubusercontent.com/Homebrew/install/master/install.sh)"
During the installation, you will probably be prompted to install Xcode Command Line Tools. If you don't have it installed, follow the prompts and install it. You will also be prompted to enter your password. This is because Homebrew will install itself in the /usr/local directory, which is protected by the system.
It's not a bad idea to run brew doctor after the installation to make sure everything is working as expected.
Some of the most useful Homebrew commands are:
brew install <package> # install a package
brew uninstall <package> # uninstall a package
brew update # update Homebrew
brew upgrade # upgrade all packages
brew search <package> # search for a package
brew list # list all installed packages
iTerm2
The first thing you need to do is to install iTerm2. iTerm2 is a replacement for the default terminal app. It has a lot of cool features, such as tabs, split panes, and more. You can download it from here or install it using Homebrew:
brew install --cask iterm2
Hotkey to open iTerm2
Sometimes you'll want to open terminal but it's hidden behind other windows. You can set up a hotkey to bring focus to iTerm2 with a simple shortcut. To do this, go to Preferences > Keys > Hotkey > ☑️ Show/hide all windows with a system-wide hotkey and set a hotkey of your choice. I use⌘~ as my hotkey.
zsh
Since we are using iTerm2, we can take advantage of its features and use zsh instead of the default bash shell. zsh is a shell that is similar to bash, but it has a lot of cool features. You can install it using Homebrew:
brew install zsh
We also need to update our default shell to use zsh. To do this, we need to run the following command:
chsh -s /bin/zsh
You can check if zsh is your default shell by running the following command:
echo $SHELL
This should return /bin/zsh.
Oh My Zsh
Oh My Zsh is a framework for zsh that makes the terminal more user-friendly. It comes with a lot of useful plugins and themes. You can install it by running the following command:
sh -c "$(curl -fsSL https://raw.github.com/ohmyzsh/ohmyzsh/master/tools/install.sh)"
In order to configure Oh My Zsh, you need to edit the ~/.zshrc file. You can do this by running the following command:
open ~/.zshrc
This will open the ~/.zshrc file in your default text editor. You can also open this in vim by running vim ~/.zshrc. If you completely mess up your .zshrc file, you can always restore the default oh-my-zsh configuration by running cp ~/.oh-my-zsh/templates/zshrc.zsh-template ~/.zshrc. It's not a bad idea to back up your .zshrc file before making any changes.
The benefits of using Oh My Zsh are the ability to add themes and plugins.
By far my favourite theme is Powerlevel10k. The theme supports a lot of different icons and it is very customizable. To install it, you need to run the following command:
git clone --depth=1 https://github.com/romkatv/powerlevel10k.git ${ZSH_CUSTOM:-$HOME/.oh-my-zsh/custom}/themes/powerlevel10k
Open up your ~/.zshrc file and set ZSH_THEME="powerlevel10k/powerlevel10k".
Restart your terminal and you should see the new theme. You can also customize the theme by running p10k configure and following the prompts. The configurator will guide you through the process of customizing the theme. If you ever want to change it in the future, you can run p10k configure again.
Plugins
There are a lot of plugins available for Oh My Zsh. You can find a list of all the plugins here. In this article, I will show you how to install my most used plugins.
zsh-syntax-highlighting
zsh-syntax-highlighting is a plugin that highlights commands as you type them. It is very useful because it helps you spot typos and mistakes. You can install it by running the following command:
git clone https://github.com/zsh-users/zsh-syntax-highlighting.git ${ZSH_CUSTOM:-~/.oh-my-zsh/custom}/plugins/zsh-syntax-highlighting
Open up your ~/.zshrc file and add zsh-syntax-highlighting to the plugins array.
plugins=(
	# other plugins...
	zsh-syntax-highlighting
)
Add the following line to the end of your ~/.zshrc file:
source ./zsh-syntax-highlighting/zsh-syntax-highlighting.zsh
This must be at the very end of the file to work correctly.
zsh-autosuggestions
zsh-autosuggestions is like IntelliSense for your terminal. It suggests commands based on your history. You can install it by running the following command:
git clone https://github.com/zsh-users/zsh-autosuggestions ${ZSH_CUSTOM:-~/.oh-my-zsh/custom}/plugins/zsh-autosuggestions
Open up your ~/.zshrc file and add zsh-autosuggestions to the plugins array.
plugins=(
  # other plugins...
  zsh-autosuggestions
)
Conclusion
Thanks for reading! Hopefully, you learned something new.